
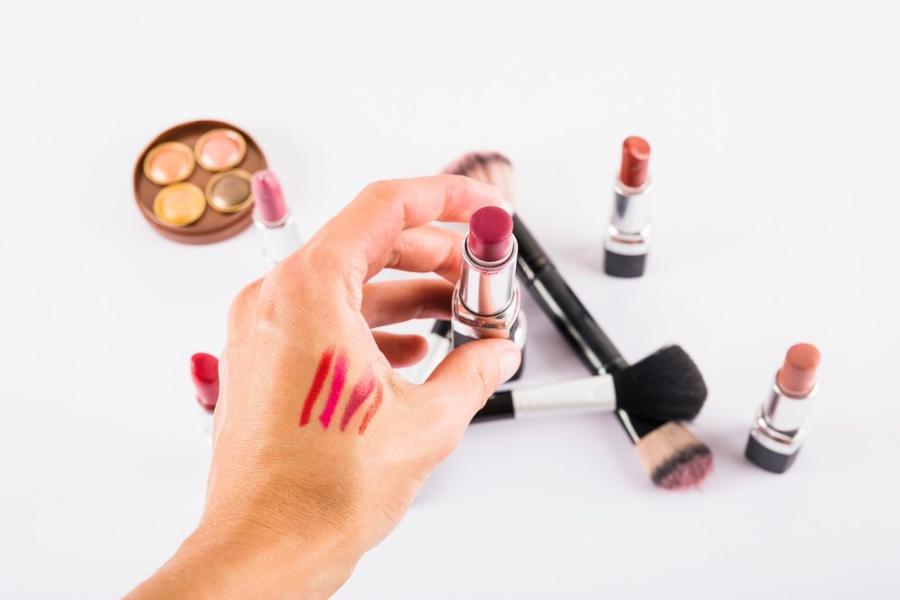
Easy Ways to Fix a Broken Lipstick at Home
Lipstick is a staple in every makeup routine, adding the perfect touch of colour to any look. However, nothing is more frustrating than seeing your favourite lipstick break, melt, or dry out. Instead of throwing it away, you can easily fix it at home using simple methods. Whether your lipstick has snapped in half, melted in the heat, or dried up, there are multiple ways to restore it.
1. Why Does Lipstick Break?
Understanding why lipstick breaks can help you prevent it from happening again. Several factors contribute to lipstick breakage, including heat, pressure, and formula dryness.
Common Reasons Lipstick Breaks:
- Excessive Heat Exposure – Lipstick softens when exposed to heat, making it fragile and more likely to break or melt. Leaving lipstick in a hot car, near a window, or under direct sunlight can cause it to become soft and lose its shape.
- Too Much Pressure During Application – Pressing too hard while applying lipstick can cause it to snap, especially if the tube is twisted up too far. If the lipstick is fragile or nearing the end of its use, it may be more prone to breaking.
- Dry or Expired Formula – Over time, lipstick can dry out, making it more brittle and susceptible to breakage. Older lipsticks tend to have a less creamy consistency, leading to cracks and snapping.
- Dropping the Lipstick – If you accidentally drop your lipstick on a hard surface, it can break at the base or separate into pieces. This is especially common with softer formulas that lack structural strength.
- Twisting the Lipstick Too Far – When applying lipstick, many people extend the tube too far, weakening its base. This makes it easier for the lipstick to snap while applying pressure.
Now that we know why lipstick breaks, let’s explore different methods to fix it.
2. How to Fix a Broken Lipstick Using Heat
If your lipstick has snapped into two pieces, the heat method is a quick and effective way to reattach it. This technique helps fuse the broken parts together, making your lipstick look and feel as good as new.
What You’ll Need:
- A lighter or candle
- A clean tissue or paper towel
- A small spatula, toothpick, or butter knife
- A refrigerator
Step-by-Step Fix:
- Clean the Broken Edges – Use a tissue or paper towel to gently wipe both broken pieces. Removing any smudged or uneven edges will help them stick together better.
- Slightly Melt the Broken Edge – Hold the lighter or candle flame close to the broken end of the lipstick for a few seconds until it softens. Be careful not to overheat it, as excessive heat can change the formula’s texture.
- Reattach the Pieces – Carefully press the broken piece back onto the base and twist slightly to align it properly. Make sure the edges are as close as possible to create a seamless bond.
- Smooth the Edges – Use a toothpick, spatula, or the edge of a butter knife to smooth out any excess lipstick around the break. This will help blend the pieces together for a cleaner look.
- Refrigerate to Set – Place the lipstick in the fridge for at least 30-60 minutes to let it solidify. This step ensures that the bond between the pieces becomes firm and stable.
Once it’s firm, your lipstick should be ready to use again!
3. How to Fix a Melted Lipstick
If your lipstick has melted due to heat exposure, don’t worry—you can still save it! Whether it has softened inside the tube or become a complete mess, you can restore it with this method.
What You’ll Need:
- A small container or an empty lip balm jar
- A spoon or spatula
- A microwave or warm water
- A toothpick or small mixing tool
Step-by-Step Fix:
- Scoop Out the Melted Lipstick – If the lipstick has melted inside the tube, carefully scoop it out and transfer it to a clean container. Be sure to use a sanitized spoon or spatula to avoid contamination.
- Melt It Evenly – If the consistency is uneven, place the container in warm water for a few minutes or microwave it in 10-second intervals until it becomes smooth. Stir the mixture occasionally to remove any lumps.
- Mix and Smooth – Stir the melted lipstick using a toothpick or spatula to ensure an even consistency. This will help the lipstick set smoothly once it solidifies.
- Let It Set – Place the container in the fridge for 1-2 hours until the lipstick hardens.
Once set, you can use a lip brush or your fingertip to apply the lipstick like a tinted lip balm.
4. Using a Lipstick Mold for a Professional Repair
If you want your lipstick to look brand new, using a lipstick mould is the best option. This method is perfect for expensive lipsticks that you want to restore completely.
What You’ll Need:
- A lipstick mould
- A spoon or spatula
- A microwave or warm water
- A refrigerator
Step-by-Step Fix:
- Melt the Broken Lipstick – Scoop out the broken pieces and heat them in a spoon over a candle flame or microwave them in 10-15 second intervals.
- Pour into the Mold – Carefully pour the melted lipstick into a lipstick mould, ensuring that it fills the entire space evenly.
- Refrigerate for 1 Hour – Let the lipstick harden inside the mould.
- Insert into a New Tube – Once solid, transfer it back into a lipstick tube and use it as normal.
This method ensures that your lipstick looks and applies just like it originally did.
5. Turning Broken Lipstick into a Tinted Lip Balm
If your lipstick is beyond repair, you can repurpose it into a tinted lip balm. This way, you still get to use your favourite shade in a different form!
What You’ll Need:
- A small container
- A spoon
- Coconut oil, shea butter, or petroleum jelly
- A microwave or warm water
Step-by-Step Fix:
- Melt the Lipstick – Scoop the broken lipstick into a spoon and heat it over a candle flame or microwave it for 10 seconds.
- Mix with a Moisturizer – Add a small amount of coconut oil, shea butter, or petroleum jelly to create a smooth consistency.
- Store in a Container – Pour the mixture into a small jar and refrigerate for 1-2 hours.
Now, you have a hydrating tinted lip balm that’s easy to apply and keeps your lips moisturized!
6. Preventing Lipstick from Breaking in the Future
To keep your lipsticks in perfect condition, follow these prevention tips:
- Store Lipstick in a Cool Place – Avoid leaving lipstick in a hot car, near a heater, or under direct sunlight.
- Twist Lipstick Only Slightly – Don’t extend the lipstick too far while applying to prevent breakage.
- Use a Lip Brush for Fragile Lipsticks – Applying lipstick with a brush reduces direct pressure.
- Check Expiry Dates – Old lipsticks become dry and brittle, making them prone to breaking.
Conclusion
Fixing a broken lipstick is easier than you think! Whether it’s snapped, melted, or completely shattered, these simple DIY methods can help you restore it and extend its lifespan. Instead of throwing away your favourite shade, try these easy fixes and save your lipstick from going to waste.
FAQS
Can I fix a broken lipstick without using heat?
Yes! If you don’t want to use heat, you can transfer the broken lipstick into a small container and use it as a lip balm with a brush or fingertip.
How do I prevent my lipstick from breaking in the future?
Avoid twisting it too far, store it in a cool place, and apply it gently to prevent unnecessary pressure that could cause breakage.
What should I do if my lipstick keeps melting?
Store your lipstick in a cool, dry place and avoid leaving it in hot environments like a car or near windows. You can also refrigerate it during summer.
Can I fix a lipstick that has dried out?
Yes! Add a drop of cosmetic-grade oil like jojoba or coconut oil, mix it, and melt slightly to restore its creamy texture.